
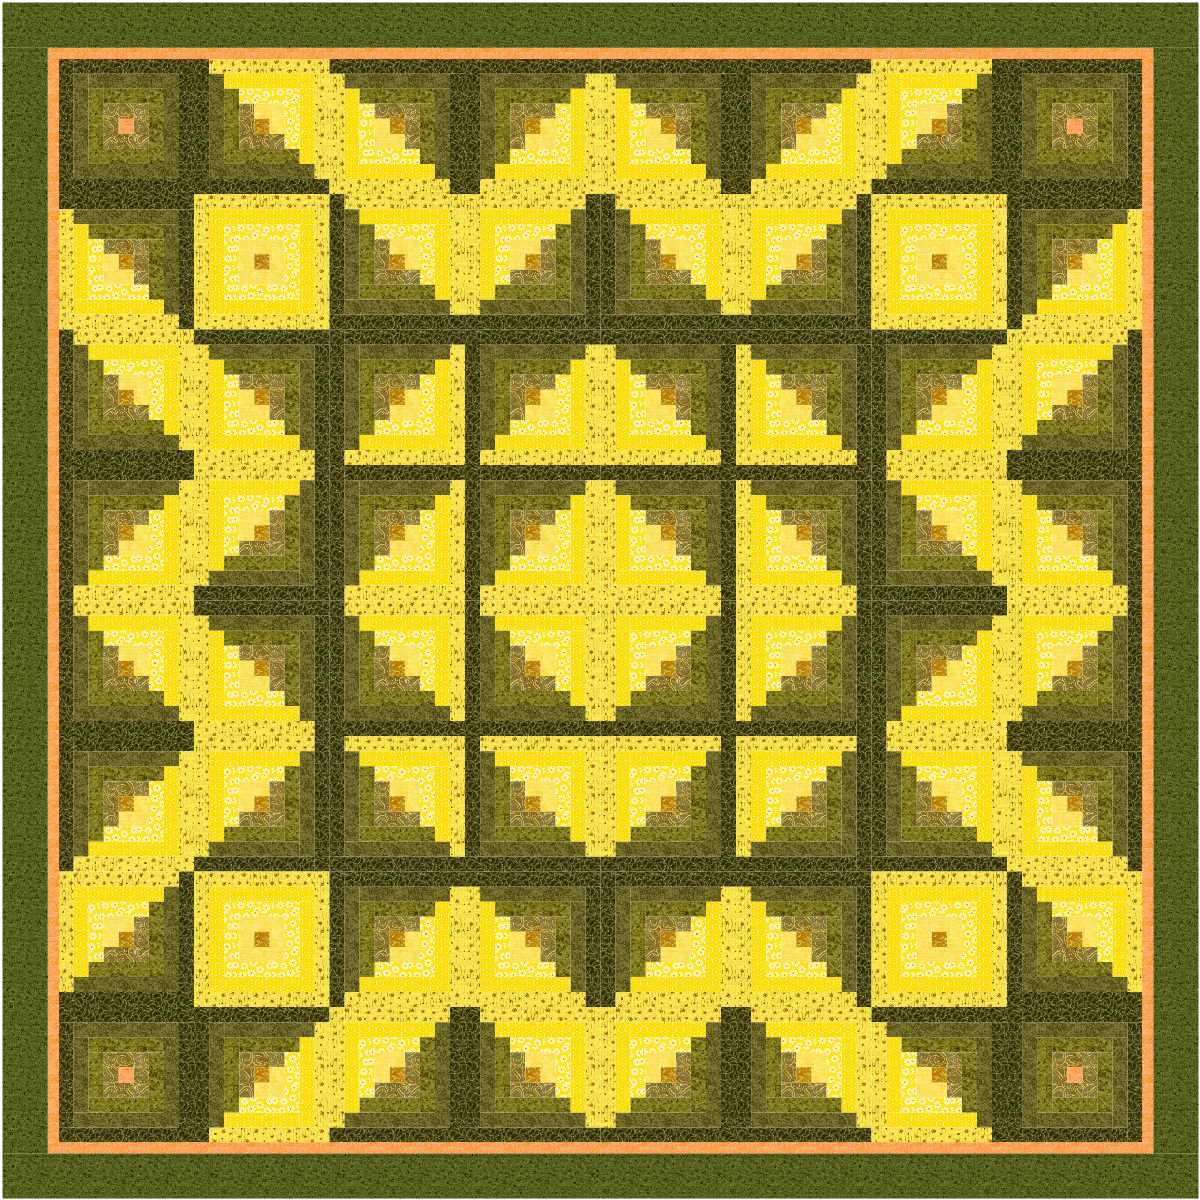
Not the prettiest colours but they serve the purpose of showing the designs clearly.

Any basic Log Cabin block instructions to make the blocks. I have used four strips on each side of the centre square which is cut the same width as the surrounding strips. If the strips are cut 1.5 inches wide the blocks will finish at 9 inches finished, 2 inch wide strips finish as a 12 inch block.
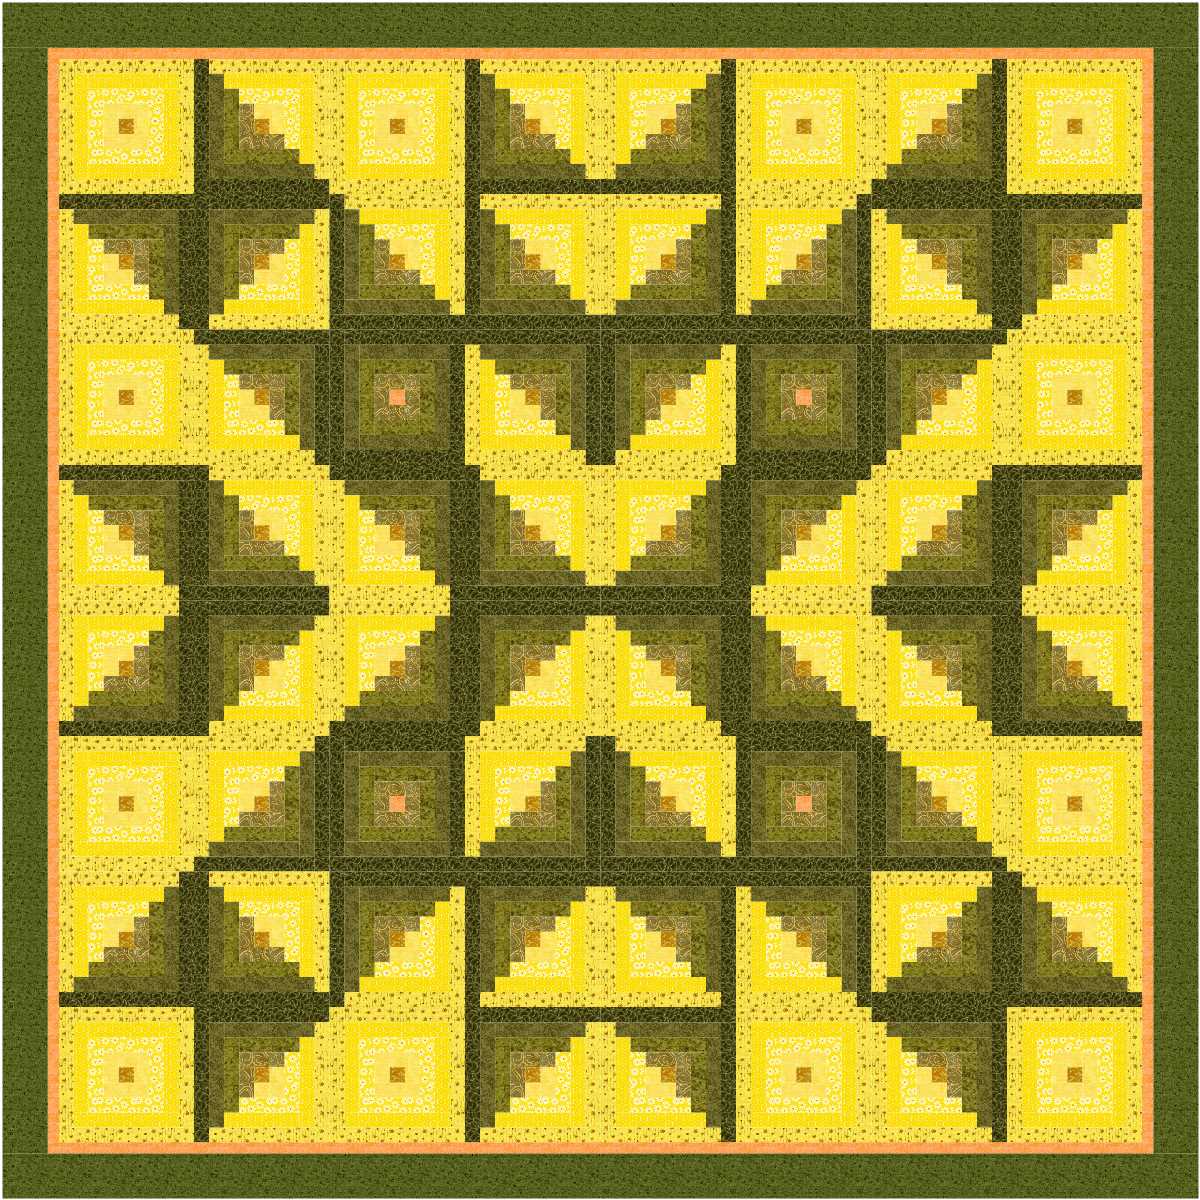
If you make a pile of Log Cabin blocks, play with them by laying them out on a bed or the floor or pin them to a board to see what designs you can find. Concentrate on a corner first then repeat the layout for the rest of the blocks.
Take photos of each one before you start making changes.

Some time ago I got some girls to make a collection of blocks, enough for a cot or lap quilt, and then challenged them to work out how to put them together. By the time they had made the blocks I had a collection of 25 layouts for them to choose from, but at least one of them found one I had missed.
I wonder how many more there were!

That is all the designs for you to study this week, and my favourite is the fourth one.
That is all for this weeks mid week retreat, but there will be more Log Cabin designs for you to study mid wee, next week.


 Quilter Blogs & Store Search


You must be logged in to post a comment.